Outside of India and Nepal, ashwagandha plants are difficult to come by, although they grow well in a backyard garden. It’s also known as Indian ginseng, and it’s powerful Ayurvedic medicine.
It’s claimed to give you stallion strength and vigor, and western herbalists identify it as an adaptogen that can help with various ailments.
Although the Ashwagandha herb can be costly, especially in supplement form, it is easy to grow and thrives with little attention. Want to grow it at home but don’t know the process, don’t worry, as this article is all about how to grow Ashwagandha.
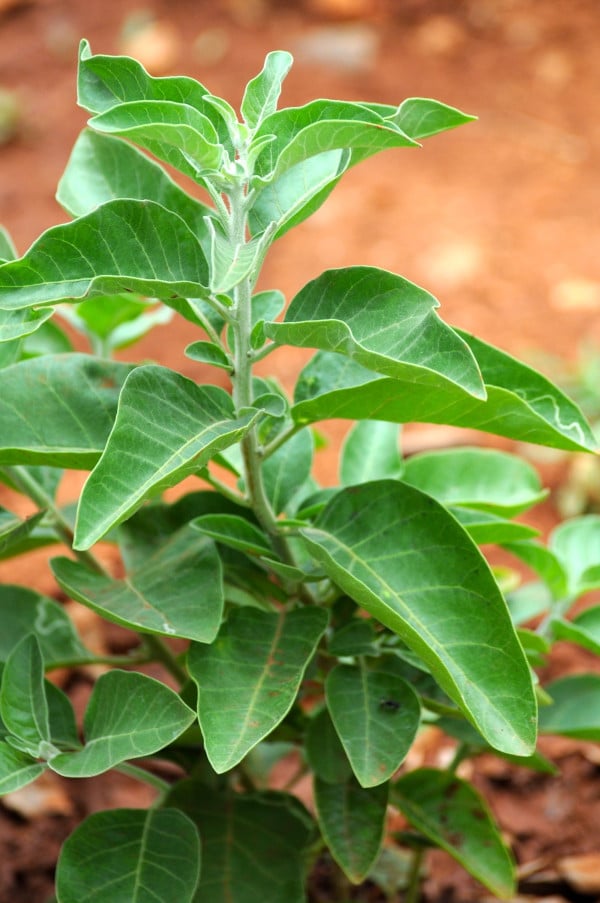
Ashwagandha has a lovely appearance and can reach a height of 3 feet. This plant is characterized by long, elliptical yellow-green leaves and tiny bell-shaped flowers with vibrant orange-red berries.
It’s also prized for its ornamental value, as it produces both flowers and red fruit and can easily become the center of attention in any garden. Cultivating an ashwagandha plant at your home is relatively easy, which is surprising given the plant’s many benefits.

How To Grow Ashwagandha: A Garden Guide
The best way to grow an ashwagandha plant is to start from a cutting.
Seeds are not readily available, and you should know that seedlings will take a long time to mature into a plant good enough for use in your garden. Meanwhile, you can cut a branch from a healthy and mature plant and root it in the soil.
If you intend to grow an ashwagandha plant from seed or a cutting, start with rich and loamy soil. It’s good to mix peat moss and perlite (about 20%-30% perlite is suggested) with your normal potting soil.
Because Ashwagandha dislikes moisture, it should be grown on sandy, well-draining soil that absorbs water fast and does not become soggy. This plant can withstand dryness and thrives in dry soil.
PH values should be neutral to slightly alkaline, ranging from 7.5 to 8. If the soil in your garden does not satisfy the requirements, replenish it with manure and remove weeds and debris from the planting area.
The location chosen for the ashwagandha plant should be placed in full sun. These plants are native to the Indian subcontinent, so it’s only natural that they prefer warmth.
The soil shouldn’t be too dry or too wet, but the right amount of water is necessary for optimal growth. Water your ashwagandha plant when the topmost layer feels slightly dry to your touch. Don’t keep it constantly underwater, but don’t let it dry up either.
How To Grow Ashwagandha via Seeds
- Like most plants, ashwagandha seeds must be soaked in water for a few hours before planting.
- Moistened seeds should be directly sowed into the soil and covered with a thin layer of soil.
- When the temperature is around 70 degrees F, plant the seeds 2 cm deep and 10 cm apart.
- Keep the bed moist at all times but not wet.
- In 2 to 3 weeks, the seeds will germinate.
- If germination does not take place after several weeks, store moistened seeds in a cool dark place for a month.
- Once the ashwagandha plant has sprouted, weed out all other plants from the area and maintain good humidity levels around the plant.
- The soil should be kept moist at all times but not too wet or soggy, as this can lead to root rot.
- Regularly remove dead leaves and other debris from the ashwagandha plant.
- When the plant produces flowers and berries and the leaves are dry, it is ready to harvest. This takes roughly 5 to 6 months on average. Before digging around the plant and picking it, moisten the soil.
How To Grow Ashwagandha via Cuttings
Growing ashwagandha plant from a cutting is the best way to propagate your garden, as growing them from seeds isn’t just time-consuming but also matures slowly.
If you have access to an existing plant, use it for harvesting some cuttings, or you can also purchase one. When the flowers on your ashwagandha plant start to wilt and fall off, it’s time for harvesting.
- Harvest the plant’s twigs, which are firm with some soil still attached at its end.
- Cut each branch carefully using a pair of clean scissors without causing any damage to the plant.
- Tie the branches of your ashwagandha plant together using a rubber band or floral wire, and hang them upside down to dry.
- Make sure you set up the drying area in a well-ventilated and warm spot, with good airflows near a fan or outdoor porch (not in direct sunlight).
- Once the leaves and stems have dried up, remove them from the twigs and store them in a dry glass jar.
- The next step is to plant your newly harvested cuttings into pots of rich soil.
- Put each cutting carefully into the center of its plant pot after you’ve filled it with good-quality soil.
- Planting them deep is unnecessary, but it’s good to leave the topmost leaves of the twig visible above the soil.
- Once you’ve planted your cuttings, water them every day until they begin growing new roots.
- Once they start developing roots, reduce watering frequency and allow the soil to dry out between waterings. You mustn’t overwater the ashwagandha plant as it can lead to root rot and fungal infections.


How To Care for Your Ashwagandha Plant
- Taking care of your ashwagandha plant is not hard at all. Since you’ll be growing them in a pot, make sure you use a good quality potting mix that drains well.
- Watering is a task that takes a few minutes every day, and once the plant has been growing for several weeks, you’ll start to see flowers within 3 months.
- In addition, make sure your ashwagandha plants get lots of sun exposure throughout the day to encourage flowering. Pick off dead leaves and branches to keep your plant healthy and produce more flowers.
- If you’re planting the cuttings directly into the ground, make sure you have good-quality soil so that they can grow quickly and also be pest resistant.
- Make sure you maintain proper irrigation if you plan on growing them in a non-pot setting.
- In addition, avoid using pesticides on your ashwagandha plant as it will affect the plant’s health.
- Like most herb families, Ashwagandha is not a heavy feeder and does not require fertilization. In reality, fertilizers are not used in India since they may alter the flavor and aroma of the plant. Apply old manure or compost around the plant base if you feel your plants need a boost.
Final Remarks
In the Indian subcontinent, this plant has a long history of use in medicine. Despite the lack of scientific evidence to support this claim, Ashwagandha was utilized in ancient India and is still used today in some Indian regions to treat anemia, debility, and infertility.
Growing Ashwagandha outdoors is the best choice because they require lots of sun exposure, and you don’t need to worry about pests affecting them.
However, if you want to grow them indoors as an ornamental plant, make sure you have a large pot and set up a sunny area where they can be placed.
Now that you know how to grow Ashwagandha Enjoy your plant and its health benefits!