The Dill (Anethum graveolens) is a super useful herb for many things. It is famous for its leaves, which you can use in flavoring fish, soups, and more.
It also serves a garnishing purpose with its fine leaves that make a delicious aesthetic topping for recipes. Also used for pickling, this herb is a flavorful addition to the table.
This lush green annual herb self-sows. However, regularly pruning your Dill plants increases the chances of reduced blooming. As a result, seed production is reduced.
The best option in such a situation is to multiply your plant through its cuttings. Continue reading this article to know how to grow Dill from cuttings.

Ultimate Guide On How To Grow Dill From Cuttings
Growing Dill from cuttings may sound difficult, but it is easy. You need some strong and healthy ends with roots growing for them to be able to grow into plants. After 2 weeks or so, transplant your newly picked-up Dill leaves onto pots of soil that have already been prepared.
We have compiled this step-by-step guide of growing Dill from cuttings for your convenience. Before breaking down the process, gather the things you need.
Things You Need
- A fresh and healthy dill plant
- A spacious vessel for water
- Pruning shears or hand pruners
- An airy and sunny window ledge
Pro Tips To Grow Dill From Cuttings
The following are some pro tips for the efficient growth of Dill from their cuttings. Please read carefully and make sure you are not skipping anyone of it!
1. Right Time To Take Dill Cuttings
The time when you take cuttings from your dill plant matters for its growth, so you must know the right time. The best time to take some small pieces from an existing plant stem is early summer or spring.
These cuttings are heat sensitive, so you can get these tender plants rooted and transplanted before summer’s high temperatures in zones 6-10.
In cooler regions, dill cuttings need to be rooted earlier in the growing season to produce more plants.
2. Best Environment For Dill Plants Growth
Dill plants like well-drained and slightly acidic soils. They thrive in sunny areas with plenty of moisture where the ground is soggy. With enough light, you can easily grow Dill indoors as well.
3. Choose A Healthy Dill Plant
To grow Dill from cuttings, you must carefully select and healthy and strong dill plant to take cuttings. These cuttings will give you a healthy plant. Otherwise, you will end up growing weeds.
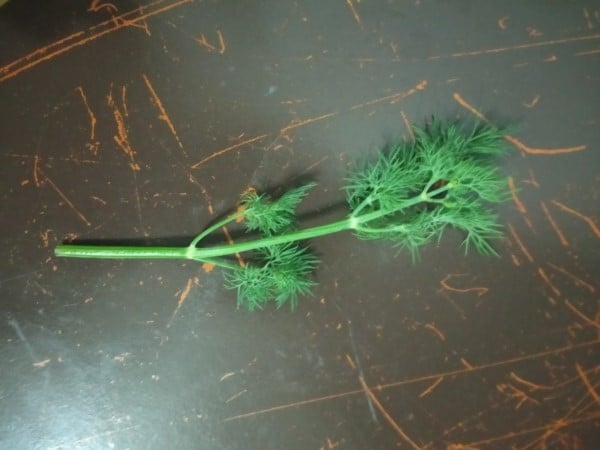
4. Take Cuttings Correctly
After choosing the perfect dill plant having its cutting from the right angle is the next most important step.
- The minimum size of cuttings must be around 4 inches.
- The stem should be larger to allow more surface area for root growth.
- Make sure to take cuttings having some greens of them. It will help your new plant carry out its photosynthesis right away without delay.
- It would be best to use older stem cuttings. They are comparatively sturdier and survive easier than younger stems.
6 Tricks About How To Grow Dill From Cuttings
Many herbs can grow in pots, either indoors or outdoors, and Dill is one of them. Growing Dill from cuttings in your home can be done as long you have the proper light conditions. Here are the quickest and easiest ways to grow this beneficial plant from its cuttings under suitable conditions.
1. Soak The Cuttings In Water
Dill cuttings root in water quickly and are ready to be transplanted into containers within 2 to 3 weeks. After choosing the right cutting, let the new plant become happy and healthy! It is where you put the cuttings in water.
You can use a glass of water or any jar in this regard. The bottom third of the stem should be immersed in water to get an optimal root growth rate, which will help them flourish when planted outdoors.
Changing water every 4 to 5 days is necessary; otherwise, it may contaminate and clog the roots. Tiny roots will start from the day 5th or 6th, but a full-fledged root system will be developed within 3 weeks.
2. Keep On Checking The Cuttings
Don’t forget to keep inspecting your cuttings once you have assisted them in developing a root system. Sometimes conditions become unfavorable, and the cuttings start to decay instead of grow. Therefore, place the container on your porch’s windowsill where you can observe it easily.
Using a glass jar or clear glass of water would be the best to examine the plant easily. If you notice any of the below-mentioned signs, then discard the cuttings and replace them with new ones:
- Droopy leaves
- Leaf turning yellow or brown
- Root not developing at the cut site
3. Choose A Well Drained And Slightly Acidic Soil To Plant Dill Cuttings
Dill is an easily grown plant that can grow in almost all soil types. Even this, everyone’s favorite patch of green can withstand poor-quality soil. However, if we talk about the optimal conditions for its growth, then rich, well-drained, and slightly acidic soil comes first.
It provides good drainage so your Dill’s roots can get oxygen to thrive. Check the soil pH and ensure it is between 6 to 6.5. If not, then adjust by adding powdered limestone if it is too acidic. In case of too alkaline soil, add aluminum sulfate.
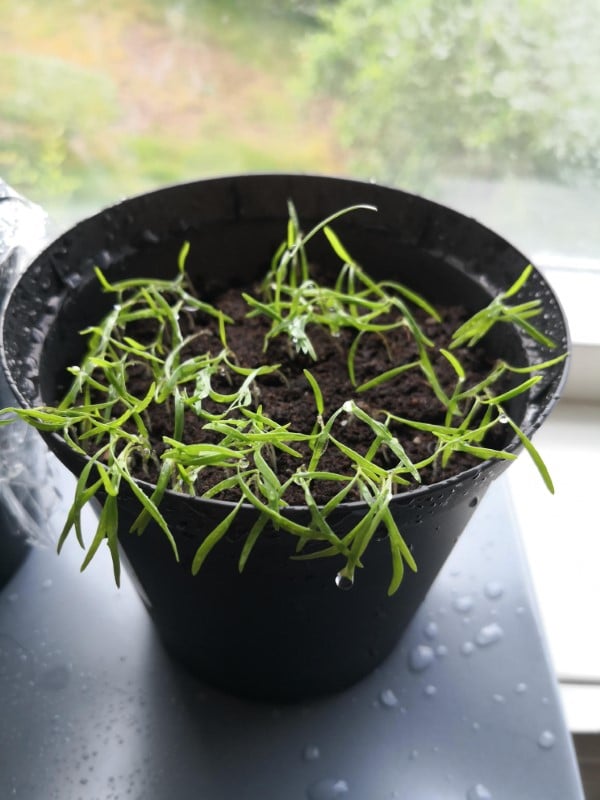
4. Transplant The Cuttings
As the dill plant does not undergo transplantation well, you have to do it once you see multiple roots have started to appear. For this, carefully remove the plant without damaging its roots.
Please place it in a prepared hole or a pot filled with soil and firm it around. Keep on watering it regularly.
This hardy herb can be grown in any environment, but it’s especially popular for those who have limited space. So, you can easily grow it inside a pot and keep it indoors.
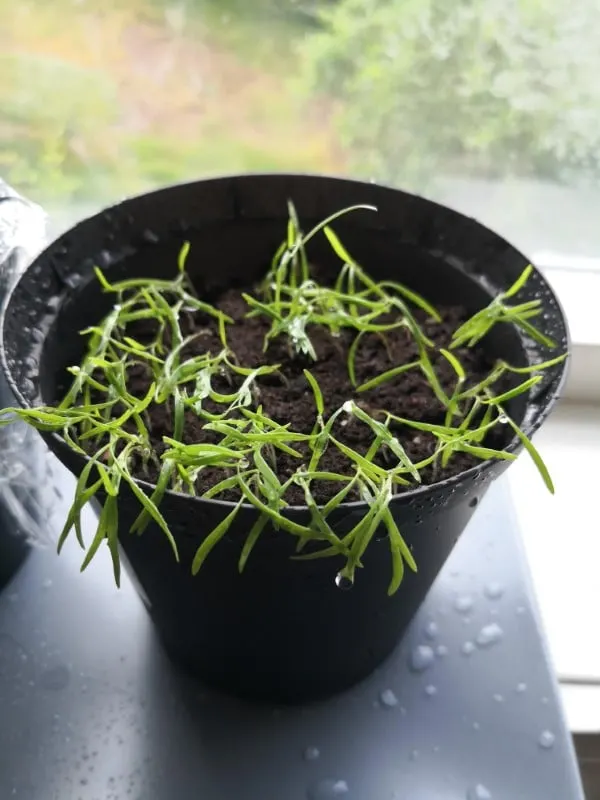
5. Give Plenty Of Sunlight
To get the most from your Dill, you need to place them close (but not too close) to a window that gets at least 6 hours of sunlight every day. If not enough light reaches their roots, they will grow slowly and produce less spice than expected.
6. Water Regularly
Dill plant does not like much watering. When watering Dill, avoid overwatering or letting them sit in very wet soil. It can cause rot damage from fungi diseases like black spots, killing your plant. Dill only needs watering when the soil is nearly dry (not completely dry).
It would be best to put your finger in the soil to check if it is drying and if it does, start adding a little water. Here is a video source that will assist you on how to grow Dill from cuttings:
>> Related Post: How To Dry Dill? The Process Is Very Easy, Yes!
Conclusion
With many of its benefits and beauty, Dill is a favorite herb of almost all kitchens. After reading this article, you know that its growth is quite easy. So, grow Dill in your homes within no time and enjoy its delicious flavors in your everyday meals!
Let us know in the comment section if this article was helpful, give suggestions and ask questions, if any!