Having a hydroponic garden is quite an achievement. However, depending on where you live and what season it is can make growing your plants rather difficult.
The most difficult challenges faced by hydroponic gardeners are trying to grow their plants indoors during the winter or on a cloudy day. This is the perfect time to get your grow lights.
Giving all of your plants the same amount of light implies even growth. This even distribution of photons, also known as light homogeneity, is important for any growth plan. The topic of discussion for this article is how to hang grow lights.
There are many options available when it comes to grow lights, but before you can choose one, you must know what purpose the light will serve and what type of plants you’ll be growing.
Generally speaking, there are four major types of hydroponic grow lights: Incandescent (regular household bulbs), Fluorescent (cool white, warm white, plant and grow lights), HID (metal halide and high-pressure sodium), and LED.
- How To Hang Grow Lights: A Lighting Guide for Plant Growth
- Things You'll Need
- Step 1: Collect Information on Your Plant and Light Uniformity
- Step 2: Consider Light Uniformity
- Step 3: Draft a Grow Light Plan
- Step 4: Determine Hang Height for Grow Lights
- Step 5: Prepare the Hanging Supplies
- Step 5: Hang Your Grow Lights
- Step 6: Install Ballasts and Bulbs
- Step 7: Adjust Your Lights
- Final Remarks
How To Hang Grow Lights: A Lighting Guide for Plant Growth
Plant growth is influenced by various elements, one of which is light. Beginners frequently have no idea how much light their plants require or how bright it should be. Whether you’re growing plants indoors or beginning your own growing business, knowing how to hang grow lights is vital.
Things You’ll Need
- The light socket of your choice, either a single lamp or multiple fixtures with the appropriate wattage of bulbs.
- Ceiling mount or hanging cable.
- Hanging hooks.
- Safety glasses and gloves.
- Cable ties, carabiner clips, zip-ties, or wire ropes to secure hooks cables.
- Insulated electrician’s tape in a variety of colors.
- Wirecutter or pliers.
Step 1: Collect Information on Your Plant and Light Uniformity
Before you can begin the installation, first collect all the information regarding:
- Plant type: Does the plant produce flowers, vegetables or fruit?
- Light type: Incandescent (regular house lights), fluorescent (cool white, warm white, plant and grow lights), high-intensity discharge (metal halide and high-pressure sodium) or light-emitting diode (LED)
Step 2: Consider Light Uniformity
- Consider your grow room’s proportions, including the crop canopy, benches, perimeters, racks, and lanes.
- Your crop canopy’s light homogeneity will be the sole thing you’ll be optimizing.
- Any light that reflects on other equipment or falls into your pathways will be lost.
- Plan for the optimum quantity of crop canopy coverage.
Step 3: Draft a Grow Light Plan
- A grow light plan will help you figure out how many grow light fixtures you’ll need for your space, as well as the ideal way to hang your grow lights.
Step 4: Determine Hang Height for Grow Lights
- Every area has its own set of obstacles that a proper lighting strategy can help you overcome.
- Low ceilings and short crop canopies, for example, might cause poor consistency. Horticultural lighting specialists refer to these “hotspots” due to the lack of homogeneity.
- The “edge effect,” which occurs when high ceilings lose too much light to the aisles and walls, is a common problem. The edge effect is well-known among growers because crops around the canopy’s edge often vary in quality and yield less than the remainder of the canopy.
- According to a decent rule of thumb, the less powerful HID lights should be placed around 24″ to 36″ above the plants. If you want to use more powerful HID lights, place them between 48″ and 62″ above the plants.
- Those that use fluorescent grow lights should keep them as close to the plants as possible. They should be about 5 inches away from the plants.
- LED lights can be placed anywhere between 5″ and 20″ apart.
- To ensure that you do not harm your plant, you should constantly evaluate what your type of plant demands when deciding to light with the different lighting systems and bulbs available.
- There are so many variables it would be virtually impossible to provide the perfect lighting for every plant.
Step 5: Prepare the Hanging Supplies
- Using your wire cutter, cut the hanging wire to the desired length.
- You should always make sure you leave more than two feet of extra cable on both ends for looping it around hooks if necessary. When working with long cables, this will ensure that there is no slack in the cabling when installed.
- Use your cable ties, carabiner clips, zip-ties or wire ropes to tie the cable in a loop near both ends. This will serve as an easy way to hang these up, in addition to ensuring that the wire does not fray later on.
- Prevent fraying by using insulated electrician’s tape in various colors to tape the wire.
- You can create a loop at each end of the cable and hang it with both hooks, but you should avoid using more than two cables on one hook. For example, hanging four lights from a single hook is not advisable because they could start to droop if there is any breeze in your grow room.
- If you apply the tape correctly, it should be smooth and unnoticeable to the touch.
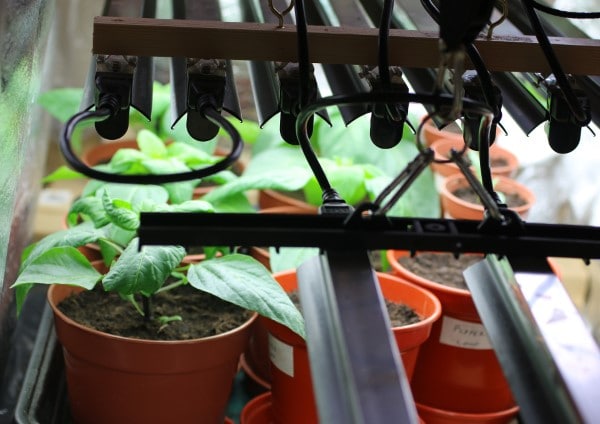
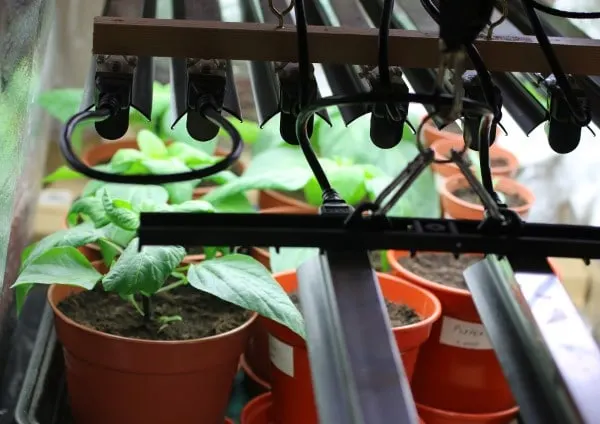
Step 5: Hang Your Grow Lights
- Use a mounting hook such as an S-hook or D-ring to hang the lights from the ceiling or rack above. As mentioned above, there should be no slack in the cabling if you use an S-hook.
- Hang your ballasts from the overhead support system using wire ropes or straps to ensure they are secure and don’t move around.
- Carefully attach HID bulbs into their sockets and ensure they do not get too hot.
Step 6: Install Ballasts and Bulbs
- Plug your ballast into a surge protector as well as an outlet using heavy-duty extension cords.
- Methodically connect the individual lamp or bulb plugs to their respective sockets on the ballasts, then plug them in to turn them on.
- Check your local building code to determine what ballasts you can use.
- Monitor the temperature of your bulbs (especially HID). High temperatures can cause them to explode, so make sure they don’t get too hot.
Step 7: Adjust Your Lights
- Once everything is installed, you can dim or turn off your lights to assess the quality of light they produce.
- Once you are satisfied with the amount of light distributed throughout your grow room, remember to unplug everything before restarting the system, so it doesn’t blow any important fuses or trip any circuit breakers in your home.
Final Remarks
Nothing compares to the rewarding sensation of experiencing your indoor plant transform into soft, vibrant colors under the grow lights.
You’ll need an effective indoor lighting system, or, to put it another way, a hanging plant light, to have well-grown, high-quality plants and high output. It’s not easy to hang grow lights, especially if you’re a beginner.
Learning how to hang grow lights is a great place to start when creating the most productive lighting environment for your horticultural operation. Many growers, though, get it wrong. But with the steps mentioned in this article, you’ll easily be able to hang grow lights.
When you use grow lights above your plants, they will result in a healthy harvest and help you prevent bugs and germs from destroying your crops.
This is why it is so important to invest in such lights as HID grow lights or LEDs because they can provide the necessary light that most types of plants need to produce healthy, viable crops.