Scarifying is a process of raking or pulling out thatch and moss from your lawn.
If your lawn has been scorched by the sun or burned by a bonfire, you may scarify it.
A little scarification brings back your shabby-looking turf to its evergreen state. Contrary to its incredible benefits, scarifying makes your lawn look a bit worse before it undergoes recovery. Therefore, learning how to revive a lawn after scarifying is crucial.
A simple scarifying process is beneficial to your lawn, as it can help to improve drainage and air circulation.
However, scarifying can also damage your grass if not done correctly.
This blog post will explore how to revive a lawn after scarifying.
We will go over seven steps that you can take to revive your grass and have it look green and healthy in no time!
Let’s begin!

Why Is Scarification Necessary?
The green grass carpet in your garden is in a constant state of growth.
You mow it regularly, but few of us know that scarifying is also crucial along with mowing. The clutter of old and damaged clippings from mowing forms a layer of dead organic matter; this layer is known as thatch.
A build-up of these layers, one after the other, ceases the nutrient and water supply to the grassroots. As a result, the grass fails to take these nutrients and dies.
Without any exaggeration, scarifying is like breathing into your dying grass!
As the name suggests, lawn scarification involves removing a layer of thatch and moss from your lawn.
It uses a garden rake or a scarifying machine with knife-type blades.
Let’s look at some benefits of scarifying:
- Scarification helps to improve drainage and air circulation around the roots of your grass.
- It encourages new healthy grass leaves to grow.
- It revives your lawn by replacing yellow and dying grass with green and fresh grass.
- It also helps to reduce compaction and improve the overall health of your lawn.
- It removes the thatch build-up from the surface of the lawn, helping it breathe.
- It enables grass to absorb water and nutrients easily.
- It reduces grass moss ingress.
- It is one of the most rewarding treatments for an old, tired lawn.
With that said, let’s see how to scarify a lawn. Because if you know the process, you’ll know how to fix any side effects of it.
How to Scarify a Lawn?
If you’re looking to improve the health of your lawn, scarifying is a great way to do it.
Before you start scarifying your lawn, it’s essential to mow it short. That will make it easier to remove thatch and moss, and it will also minimize the risk of damaging your grass.
Once your lawn is mowed, you can start scarifying:
- If you’re using a power-scarifier, go over the entire lawn evenly. If you’re using a garden rake, you’ll need to add more muscle to it.
- As a general rule of thumb, you should scarify your lawn at least once a year. It will help to loosen up the thatch and allow new grass growth. You may need to scarify more frequently if you have a heavy thatch build-up.
- Twice a year would suffice, as more frequent blade treatment of your turf would be harsh to handle.
So, once you have sacrificed your lawn, it’s time for the revival process.
How to Revive a Lawn After Scarifying?
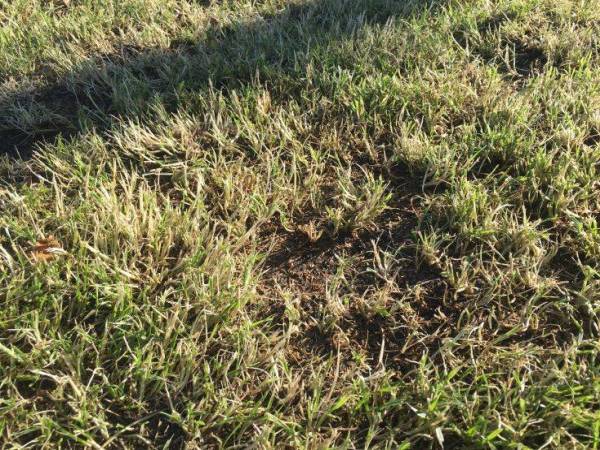
Scarifying creates poor visual on your turf for some time after, e.g., bare patches, dry grass, etc.
It also ends up in a pile of debris that needs to be discarded.
A scarified lawn needs around 4–6 weeks to recover, but you can recover quickly using these incredible steps.
Here’s how to revive a lawn after scarifying:
1. Top Dressing
After scarifying your lawn, it’s crucial to top-dress it with a layer of fresh soil or compost.
Use a rake to spread the top dressing evenly over the lawn.
It will help to fill in any bare patches and give the grass a boost of nutrients. It also improves drainage and encourages healthy grass growth.
2. Aerate the Soil
Once you’ve finished scarifying, it’s time to aerate the soil.
- You can do this by renting an aerator from your local hardware store or poking holes in the soil with a garden fork. Aerating your lawn will allow water, nutrients, and air to reach the roots of the grass.
- If your lawn is very compacted, you may need more effort to aerate it.
- Aerating the soil will help water and nutrients reach the roots of your grass, promoting healthy growth.
Avoid walking on your lawn for a few days, ideally a week after aerating.
3. Kill the Remaining Moss
If you have any remaining moss on your lawn, now is the time to kill it. You can do this using a Moss Killer product, which you can find at most garden centers. Be sure to follow the instructions on the package and apply the product evenly over the affected area.
4. Overseeding
Scarifying can cause bare spots in the lawn.
To fix this, reseed these areas with fresh grass seed.
- Your lawn must look sparse, and you want to increase grass density; adding lawn grass seeds is a great way to do this.
- To sow grass seeds, rake over your lawn area, then scatter the seeds evenly.
- Once scattered, gently rake the seeds into the soil to cover them.
- The best time to sow grass seed is in late spring or early autumn when the soil is moist and the temperature is mild.
Overseeding is a much-needed process for a healthy lawn with good coverage. It also keeps away weeds you must not want in your reviving lawn.
5. Add Fertilizers
Scarifying a lawn can be tough on the grass, making it look thin and patchy.
- To help your lawn recover, you will need to add some fertilizers.
- Choose a fertilizer high in nitrogen to help the grass proliferate.
- A scarified lawn needs regular fertilization to maintain its vigor.
- Apply the fertilizer according to the manufacturer’s instructions.
You should start to see your lawn looking healthier within a few weeks.
6. Watering
Scarifying removes a lot of moisture from the grass.
- The new shoots need to grow and require proper water, so water your lawn frequently.
- Water it twice a week for the first two weeks—it is best when there are dry spells.
- Be sure to water the new grass seed regularly, keeping the soil moist but not soggy.
And last but not least…
7. Be Patient
It takes time for a scarified lawn to recover fully, so don’t expect miracles overnight! With proper care, your lawn will be back to its best in no time.
That’s all!
Now you know how to revive a lawn after scarifying.
When to Mow Lawn After Scarification?
As mentioned above, reviving a scarified lawn takes about 4–5 weeks. It is advisable not to mow your lawn within this period. You may think of mowing when you see new shoots sprouting and turning into thick green leaves.
When the grass has fully grown and is green, you can mow to maintain its size.
Conclusion!
Now that you know how to revive a lawn after scarifying, it’s time to put your knowledge into practice.
Use the steps mentioned above to make your lawn look lush and green again. After scarifying your lawn, feed it, and water it well. You may also need to top up areas where the grass has been particularly damaged.
Top dressing, overseeding, fertilizing, and watering are the main saviors of your scarified yard.
Using the tips you’ve learned from this article, you should be able to handle your shabby-looking scarified yard without much issue.
We’re happy to answer any questions and help revive your garden to its striking looks.
So don’t forget to use the comment section below!
Regards.